
Expo.dev - Register Account and Setup Project
1. To begin using Expo, navigate to the Expo homepage. In the top right corner of the page, click on the "Sign Up" button. This will allow you to create a new account and gain access to Expo's ecosystem of tools for developing, reviewing, and deploying applications. If you already have an account, you can select the "Log In" option instead.

2. Once you've clicked the "Sign Up" button, you'll be directed to the account creation page. Fill in the required fields.

3. After successfully logging into your Expo account, you'll land on the Dashboard. To start your first project, click on the "Create a Project" button prominently displayed in this section.

4. After clicking "Create a Project," a dialog window will open prompting you to enter specific details for your new project:
-
-
Display Name: Enter a human-readable name for your project (e.g., "Mobile App"). This is how the project will be displayed within the Expo platform.
-
Slug: Provide a unique, URL-friendly name for your project (e.g., "mobile-app"). This slug will be used in the project's URL, so it should be unique across your account.
-

5. To ensure proper access for managing your projects, navigate to the Access Tokens section in the sidebar of the dashboard. Here, you can create and manage robot users. Robot Users: Create a robot user for automated processes or third-party integrations, click on the "Add robot" button.
Set the role to "Developer"


Click "Generate new token " button

After creating your access token, it's vital to secure it properly. In the Access Tokens section, you will see your newly generated token listed, along with a warning indicating that you should copy and store it in a safe place.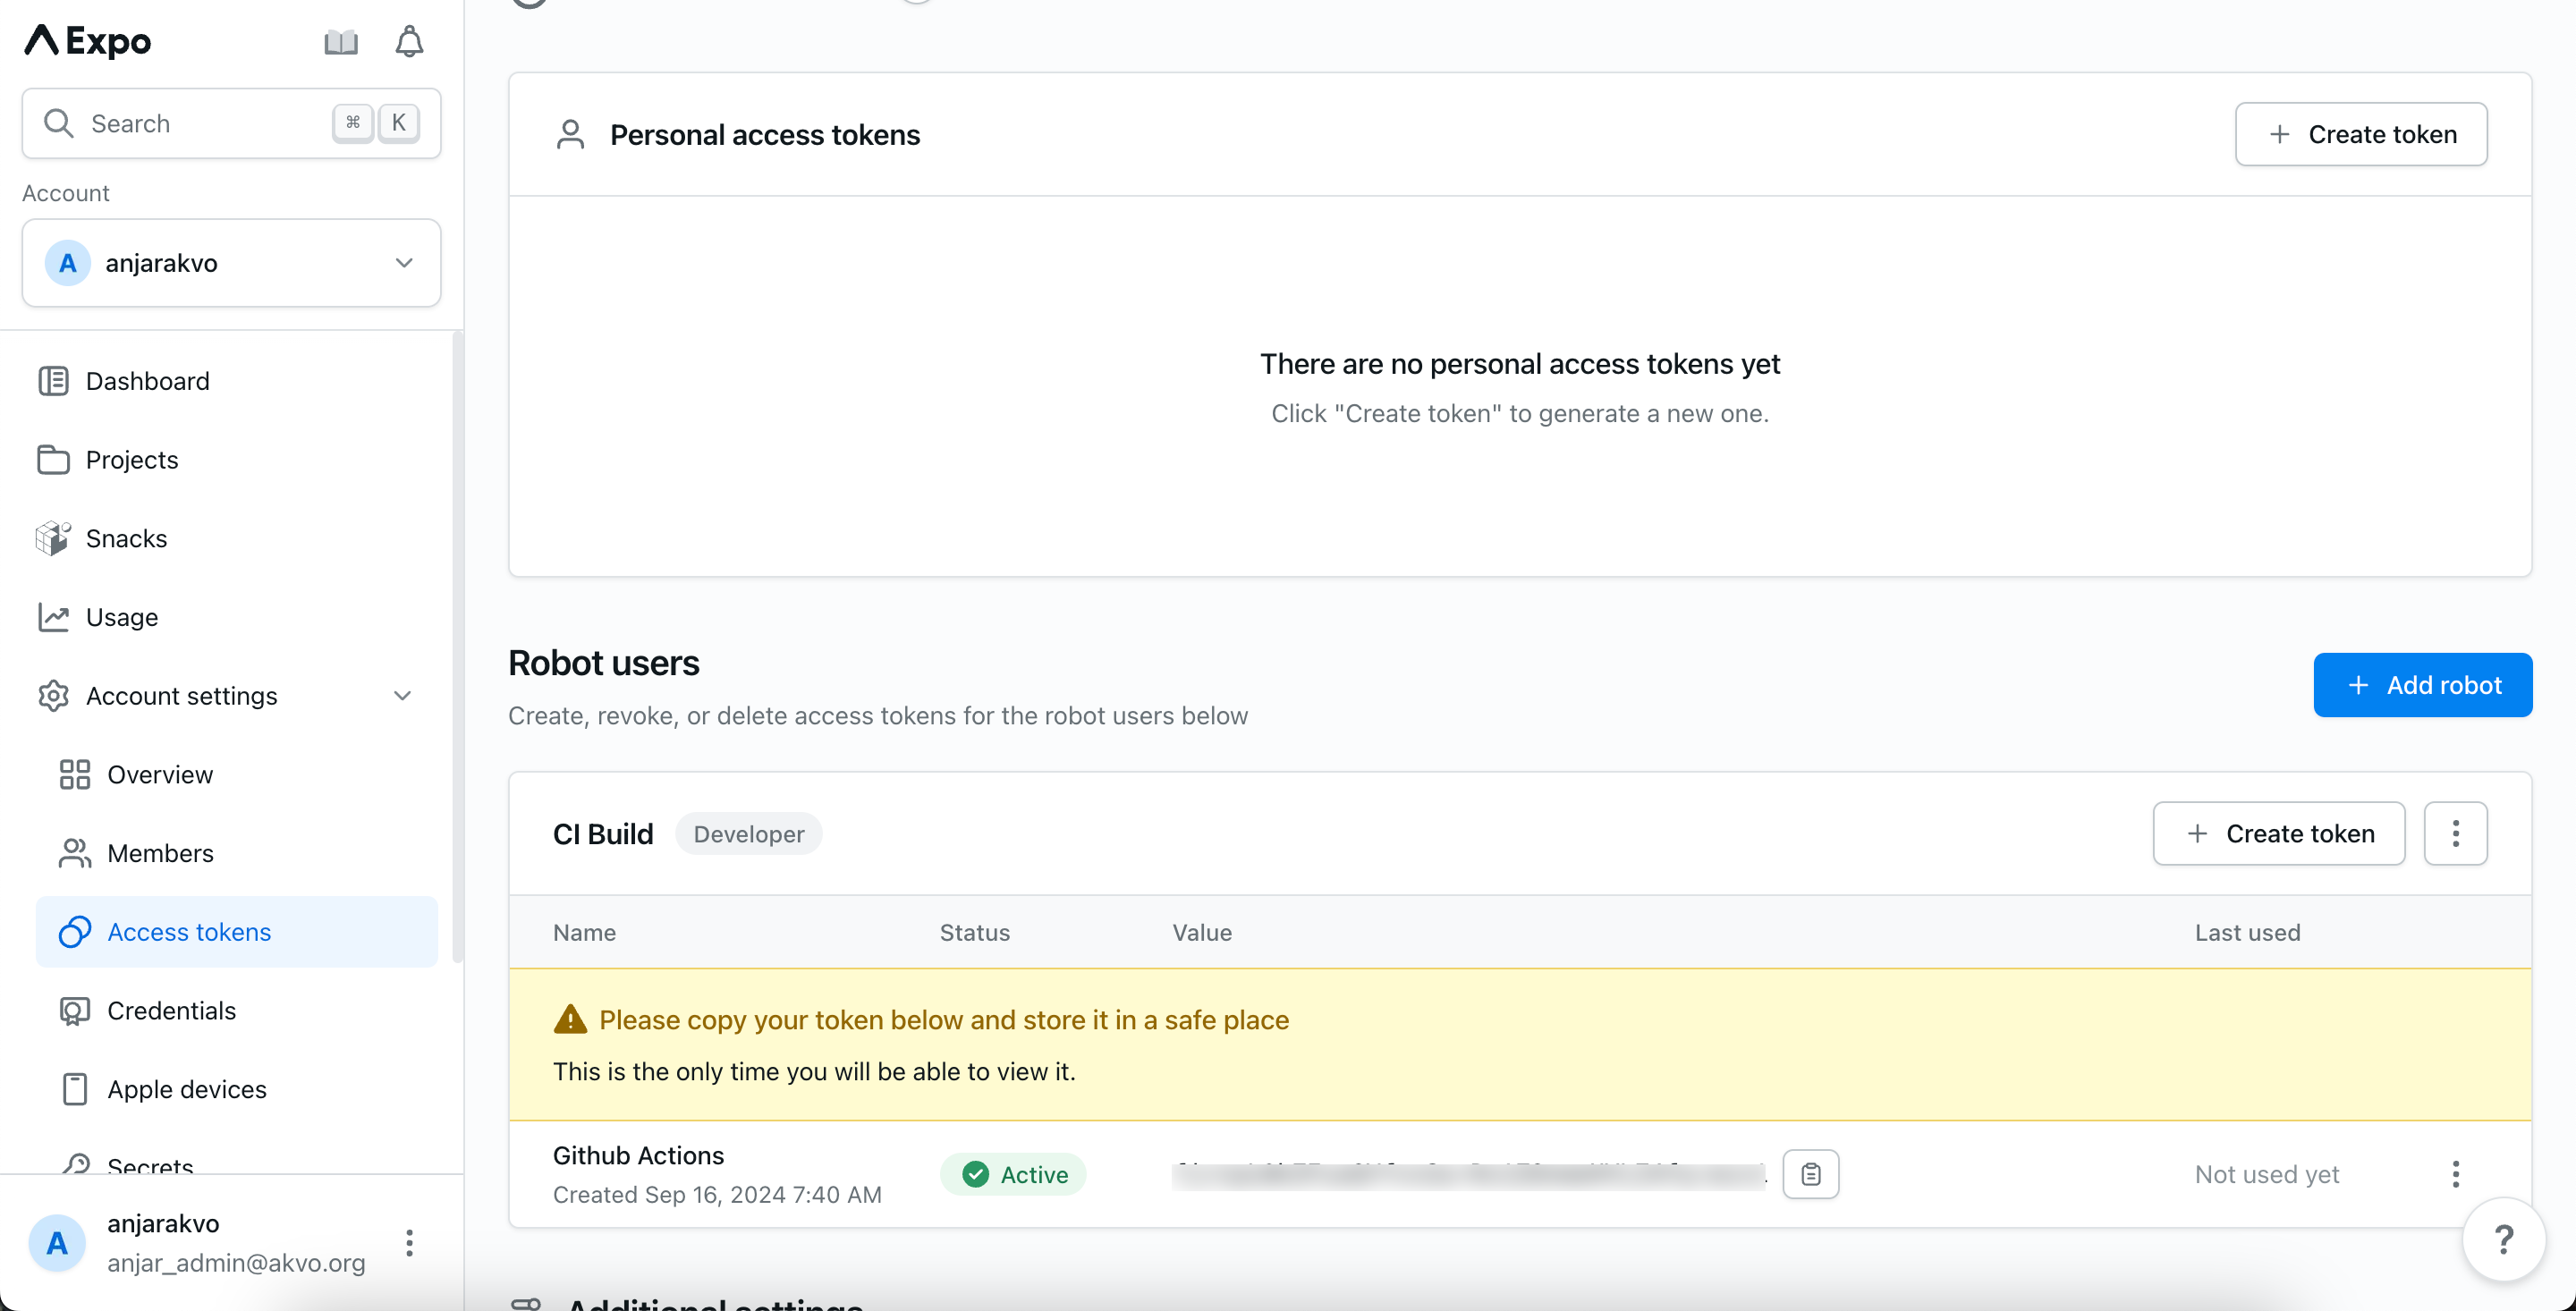
No comments to display
No comments to display