Productivity Tools
Asana - Fundamentals
Asana Documentation
Getting Started With Asana
We highly encourage you to go through the Basic Course Series (1 hour commitment) in order to get a guided tour of the main features of Asana.
Asana Guide
The Asana Guide is very well written and comprehensive. This is the #1 resource you should use to explore functionalities further.
How To Asana
Many resources are also available on Youtube. We recommend looking at the How To Asana series to short and practical videos.
⚠️ Some videos can be a few years old. Although still relevant there might be other / better ways to do things in Asana (Ex: The time tracking video shows the Harvest integration. There's now a built-in time tracking feature.).
Inline Help
You can access the documentation within Asana itself by clicking the "Help and getting started" link at the bottom left of the screen.

Golden Rule
If you need to remember one thing, remember this:
A task is only considered actionable if it is assigned to someone and has a due date.
Important Concepts
Asana Organization
All users that have an @akvo.org email address are part of the Akvo Asana Organization.
Asana Teams
An Asana Team is a set of people that share projects. Think of Asana Teams as a way to group projects that are related to each other. Ex:
- Internal Asana Project for an internal team
- Asana Projects used to implement a client project / contract
Teams have different permission settings that control how people can find and join teams (projects have their own permissions).
| Privacy Setting | Accessible by | Can request to join |
| Membership by Request | Team members | Yes |
| Private | Team members | No |
| Public to organization | Team and organization members | Yes |
At Akvo, Asana Teams should have the permission "Public to organization" by default.
Asana Projects
An Asana Project is where you organize the tasks.
Useful Features
| Feature | Description |
| Invite Clients To Asana |
You invite clients to Asana. This is a great way to create transparency and to have them engage with the project. Client usually have access to the Timeline and Feedback projects. You can add share other Asana Projects with them depending on their role and level of engagement. 💡 As long as their email address is not @akvo.org their account does not count towards our Asana seat count. |
| Tasks can be in multiple projects | You can add tasks to multiple projects at the same time. This is very useful to avoid duplication. Ex: A task is added to te Feadback project by the client. You add that task to the Sprint Project as well so that the work of the team is is a central location. |
| Repeat / Recurring Tasks | Repeat tasks get created again when they are completed. This is useful to remind you to do something at periodically. Ex: submit your expenses every month. |
| Timeline View & Dependencies | The timeline view allows you to create Gantt charts. Timelines are a very convenient way to share project update with clients. |
| Everything that is assigned to you ordered in many different possible ways. | |
| Inbox is your notification center for Asana. Your inbox displays updates on projects you're a member of, and tasks that you collaborate on or that are assigned to you. It's a great way to stay on top of what has happened. | |
| You can create templates for Projects and Tasks. Great for standardizing your workflows. | |
| Useful to customize your Asana workflow and to add sort / filtering capabilities. Make sure to check whether the custom field you want to add already exists in the Akvo's field library. | |
| Rules allow you to streamline routine tasks and establish workflows with ease. For a rule to work, you need a trigger that activates the rule and an action that is performed automatically. For example, a rule can be created to automatically assign a task (action) when a due date is set (trigger). Workflows provide a nicer user interface to create and manage rules. | |
| You can create forms to standardize the way tasks are created in an Asana Project. Forms have an external link that can be shared with anyone, even without an Asana account. Ex: Create a form to collect bug reports. | |
| Proofing lets stakeholders leave specific, actionable feedback on images so your team knows what needs to be done to complete their work. | |
|
Approval tasks are tasks for which the "Completed" boolean attribute is replaced by:
Useful when you need more than just a simple Yes or No. |
|
|
Asana can be integrated with many other 3rd party tools. Here are some useful examples: |
|
|
For anything else that is not possible with an existing App Integration, you can still rely on Asana's API. Great combo with automation tools such as n8n. |
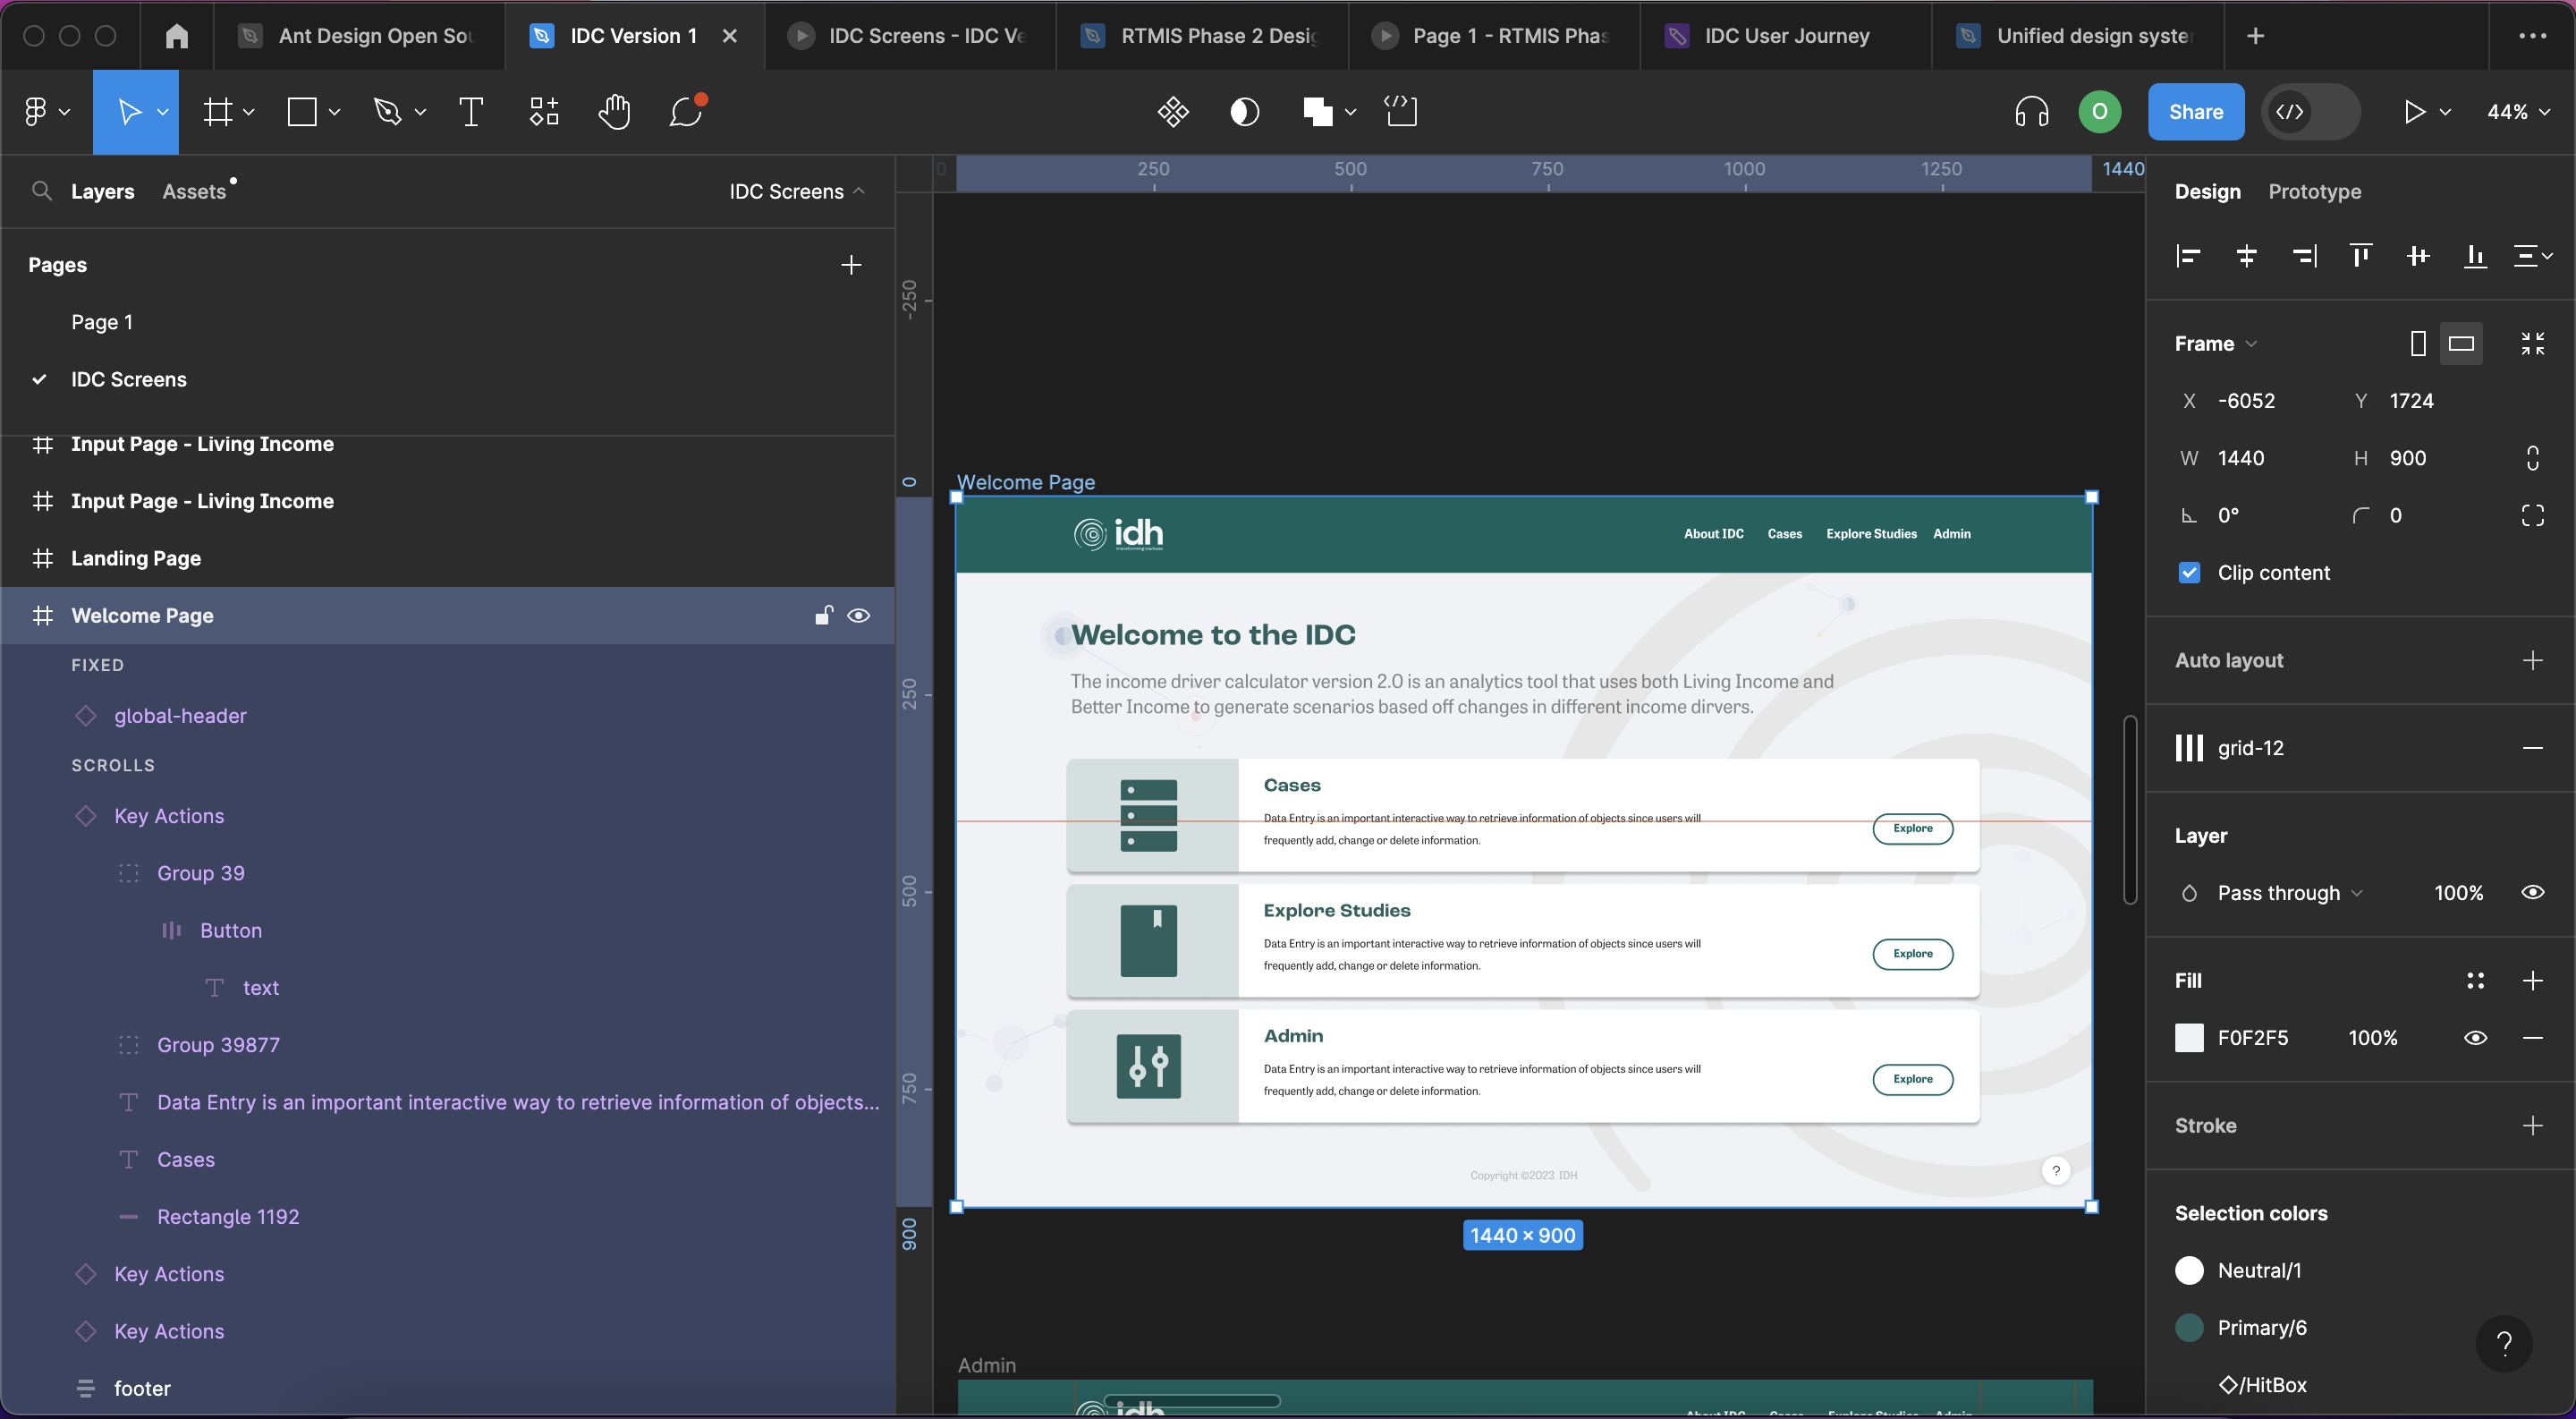
Figma - Fundamentals
Figma is the cloud-based design and prototyping tool used by Akvo for creating user interfaces, web designs, and more. Its file structure and navigation is designed to make collaboration and organization easier. Here's an overview of the Figma file structure and how to navigate it:
Workspace
Figma's workspace is where all your design files and projects are organized. When you log in, you'll see a list of your recent files and any projects you've been invited to.

Files
In Figma, files are where you create and store your design work. You can think of them as documents, similar to how you'd use files in a traditional graphic design or illustration software. Each Figma file can contain one or more pages, frames, or artboards.
Pages
Pages are like tabs or sections within a Figma file. They allow you to organize your content. For example, you might have one page for the homepage design and another page for the contact page. To add a new page, click the "+" button next to the existing pages at the top of the Figma canvas.

Frames and Artboards
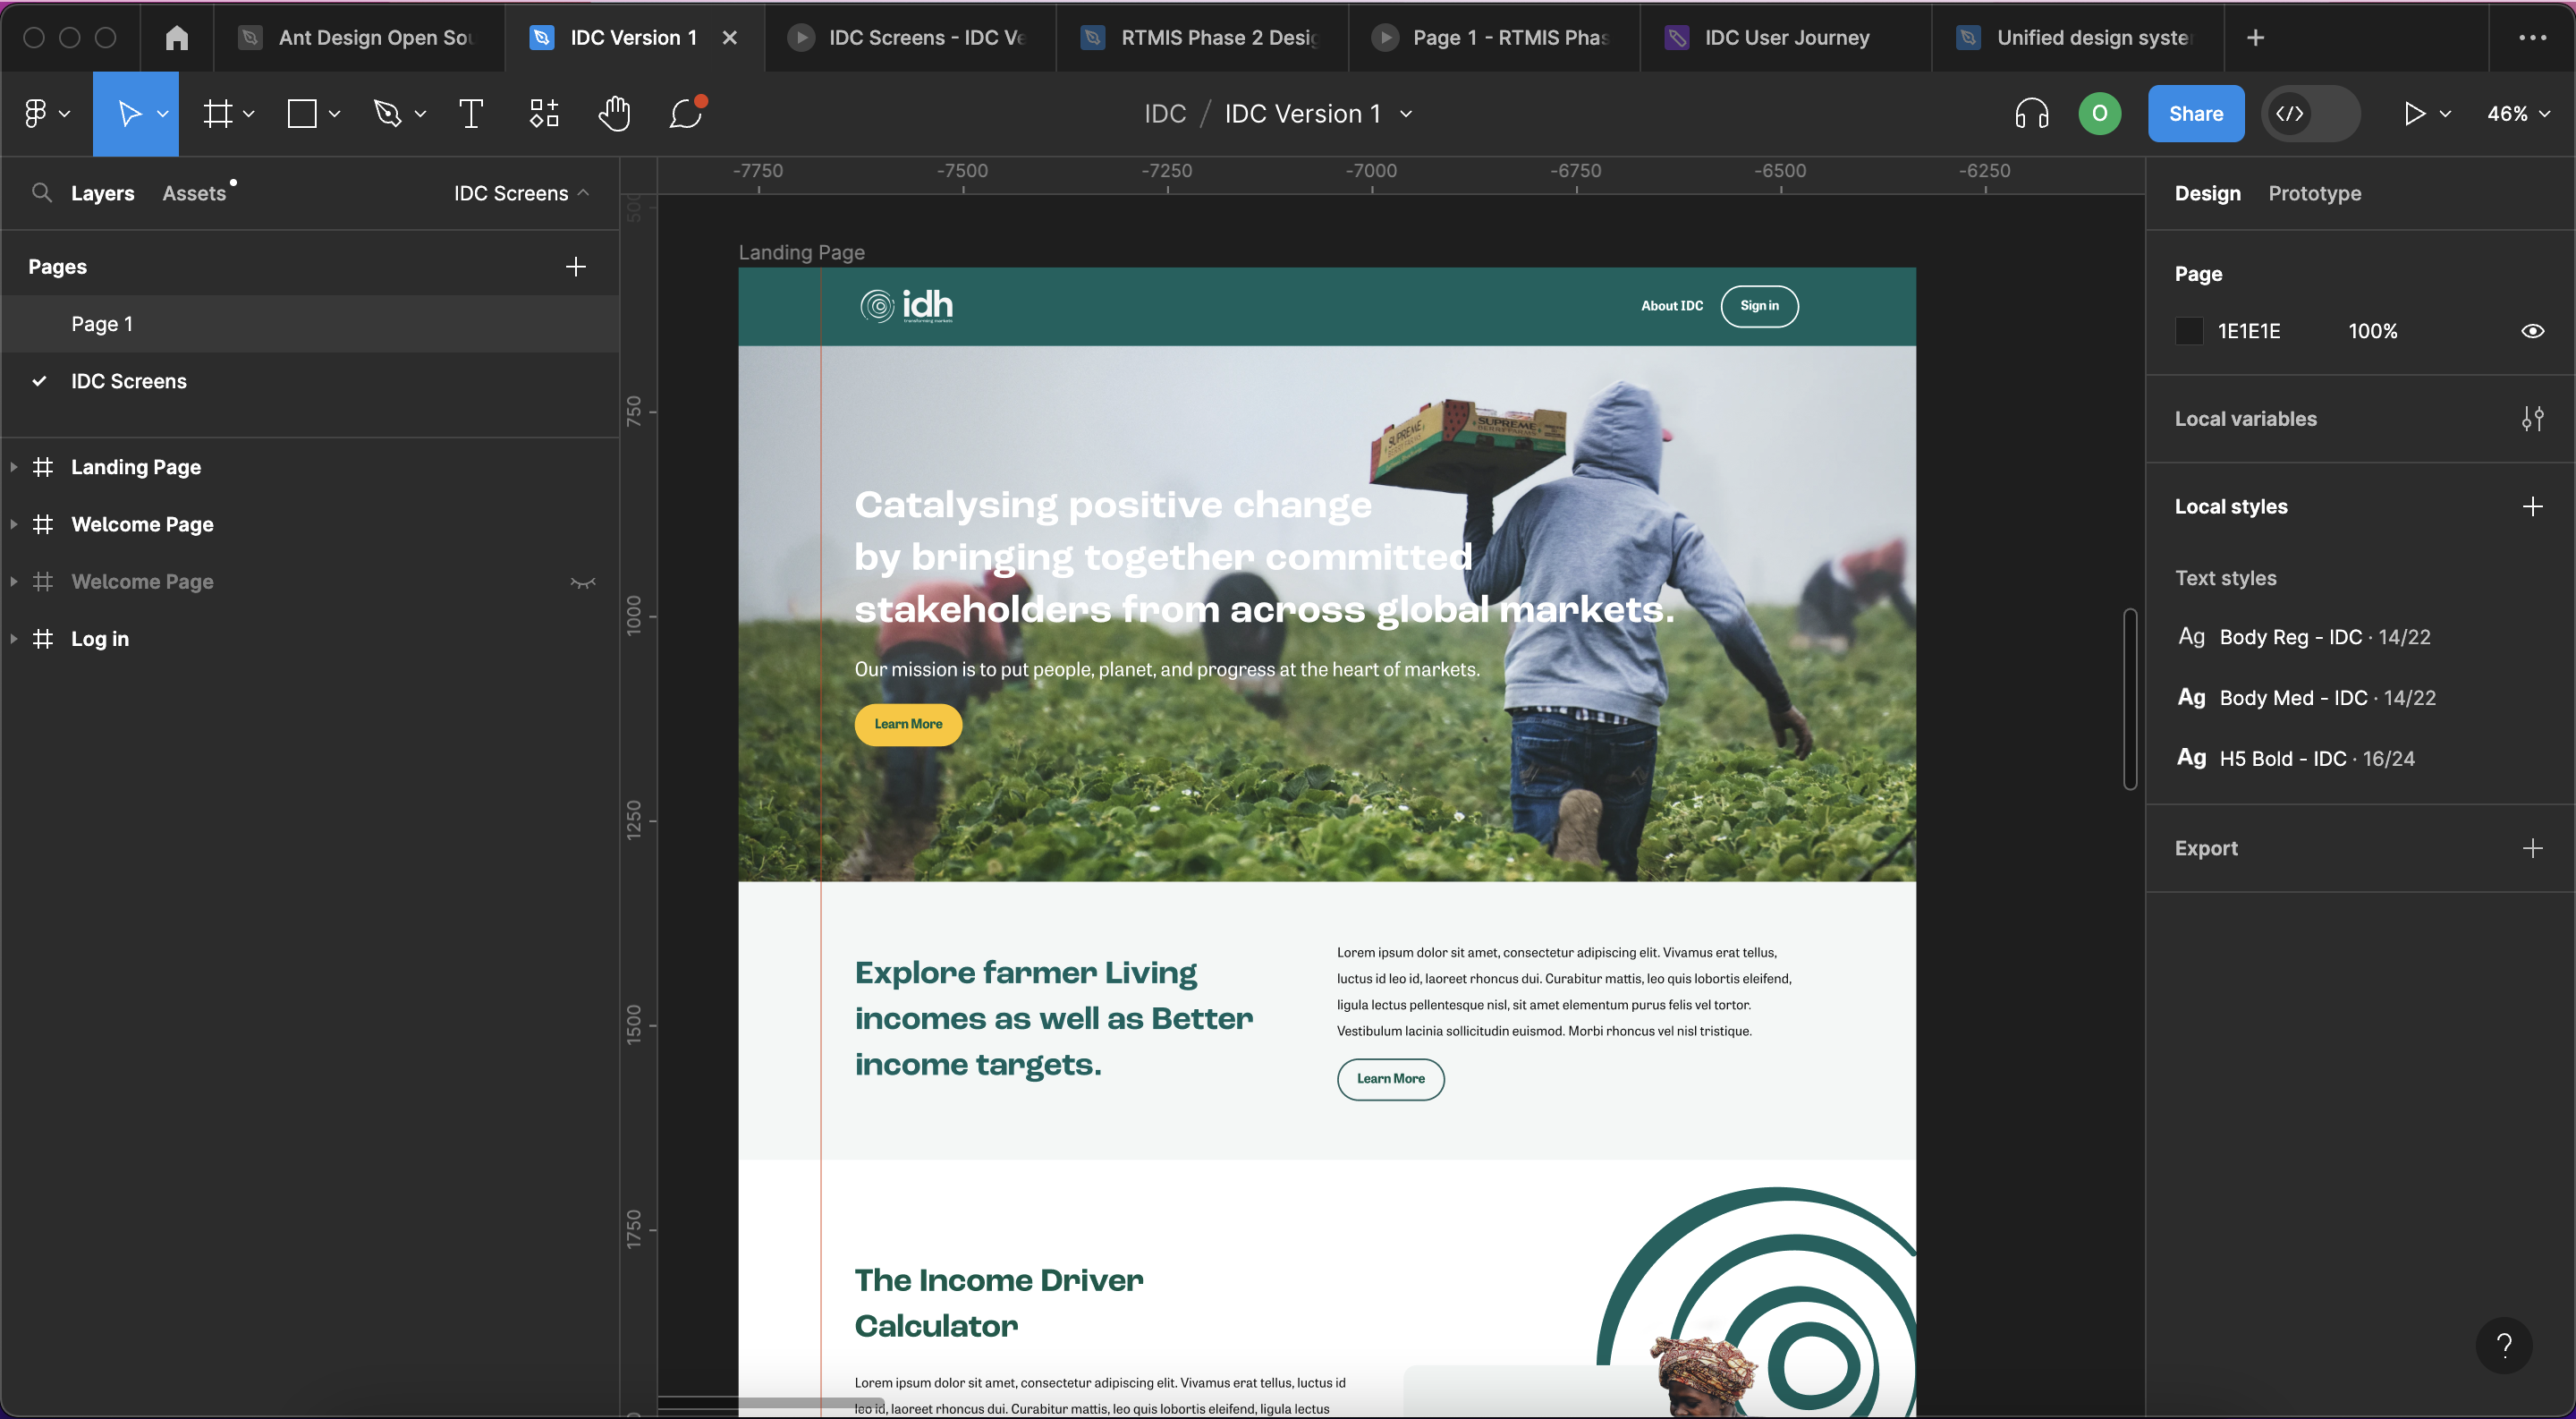
Frames are the containers for your design content. You create and arrange your designs within frames. Artboards are a specific type of frame used for creating different screen sizes or device views. You can add frames by selecting the "Frame" tool from the toolbar on the top left.

Layers
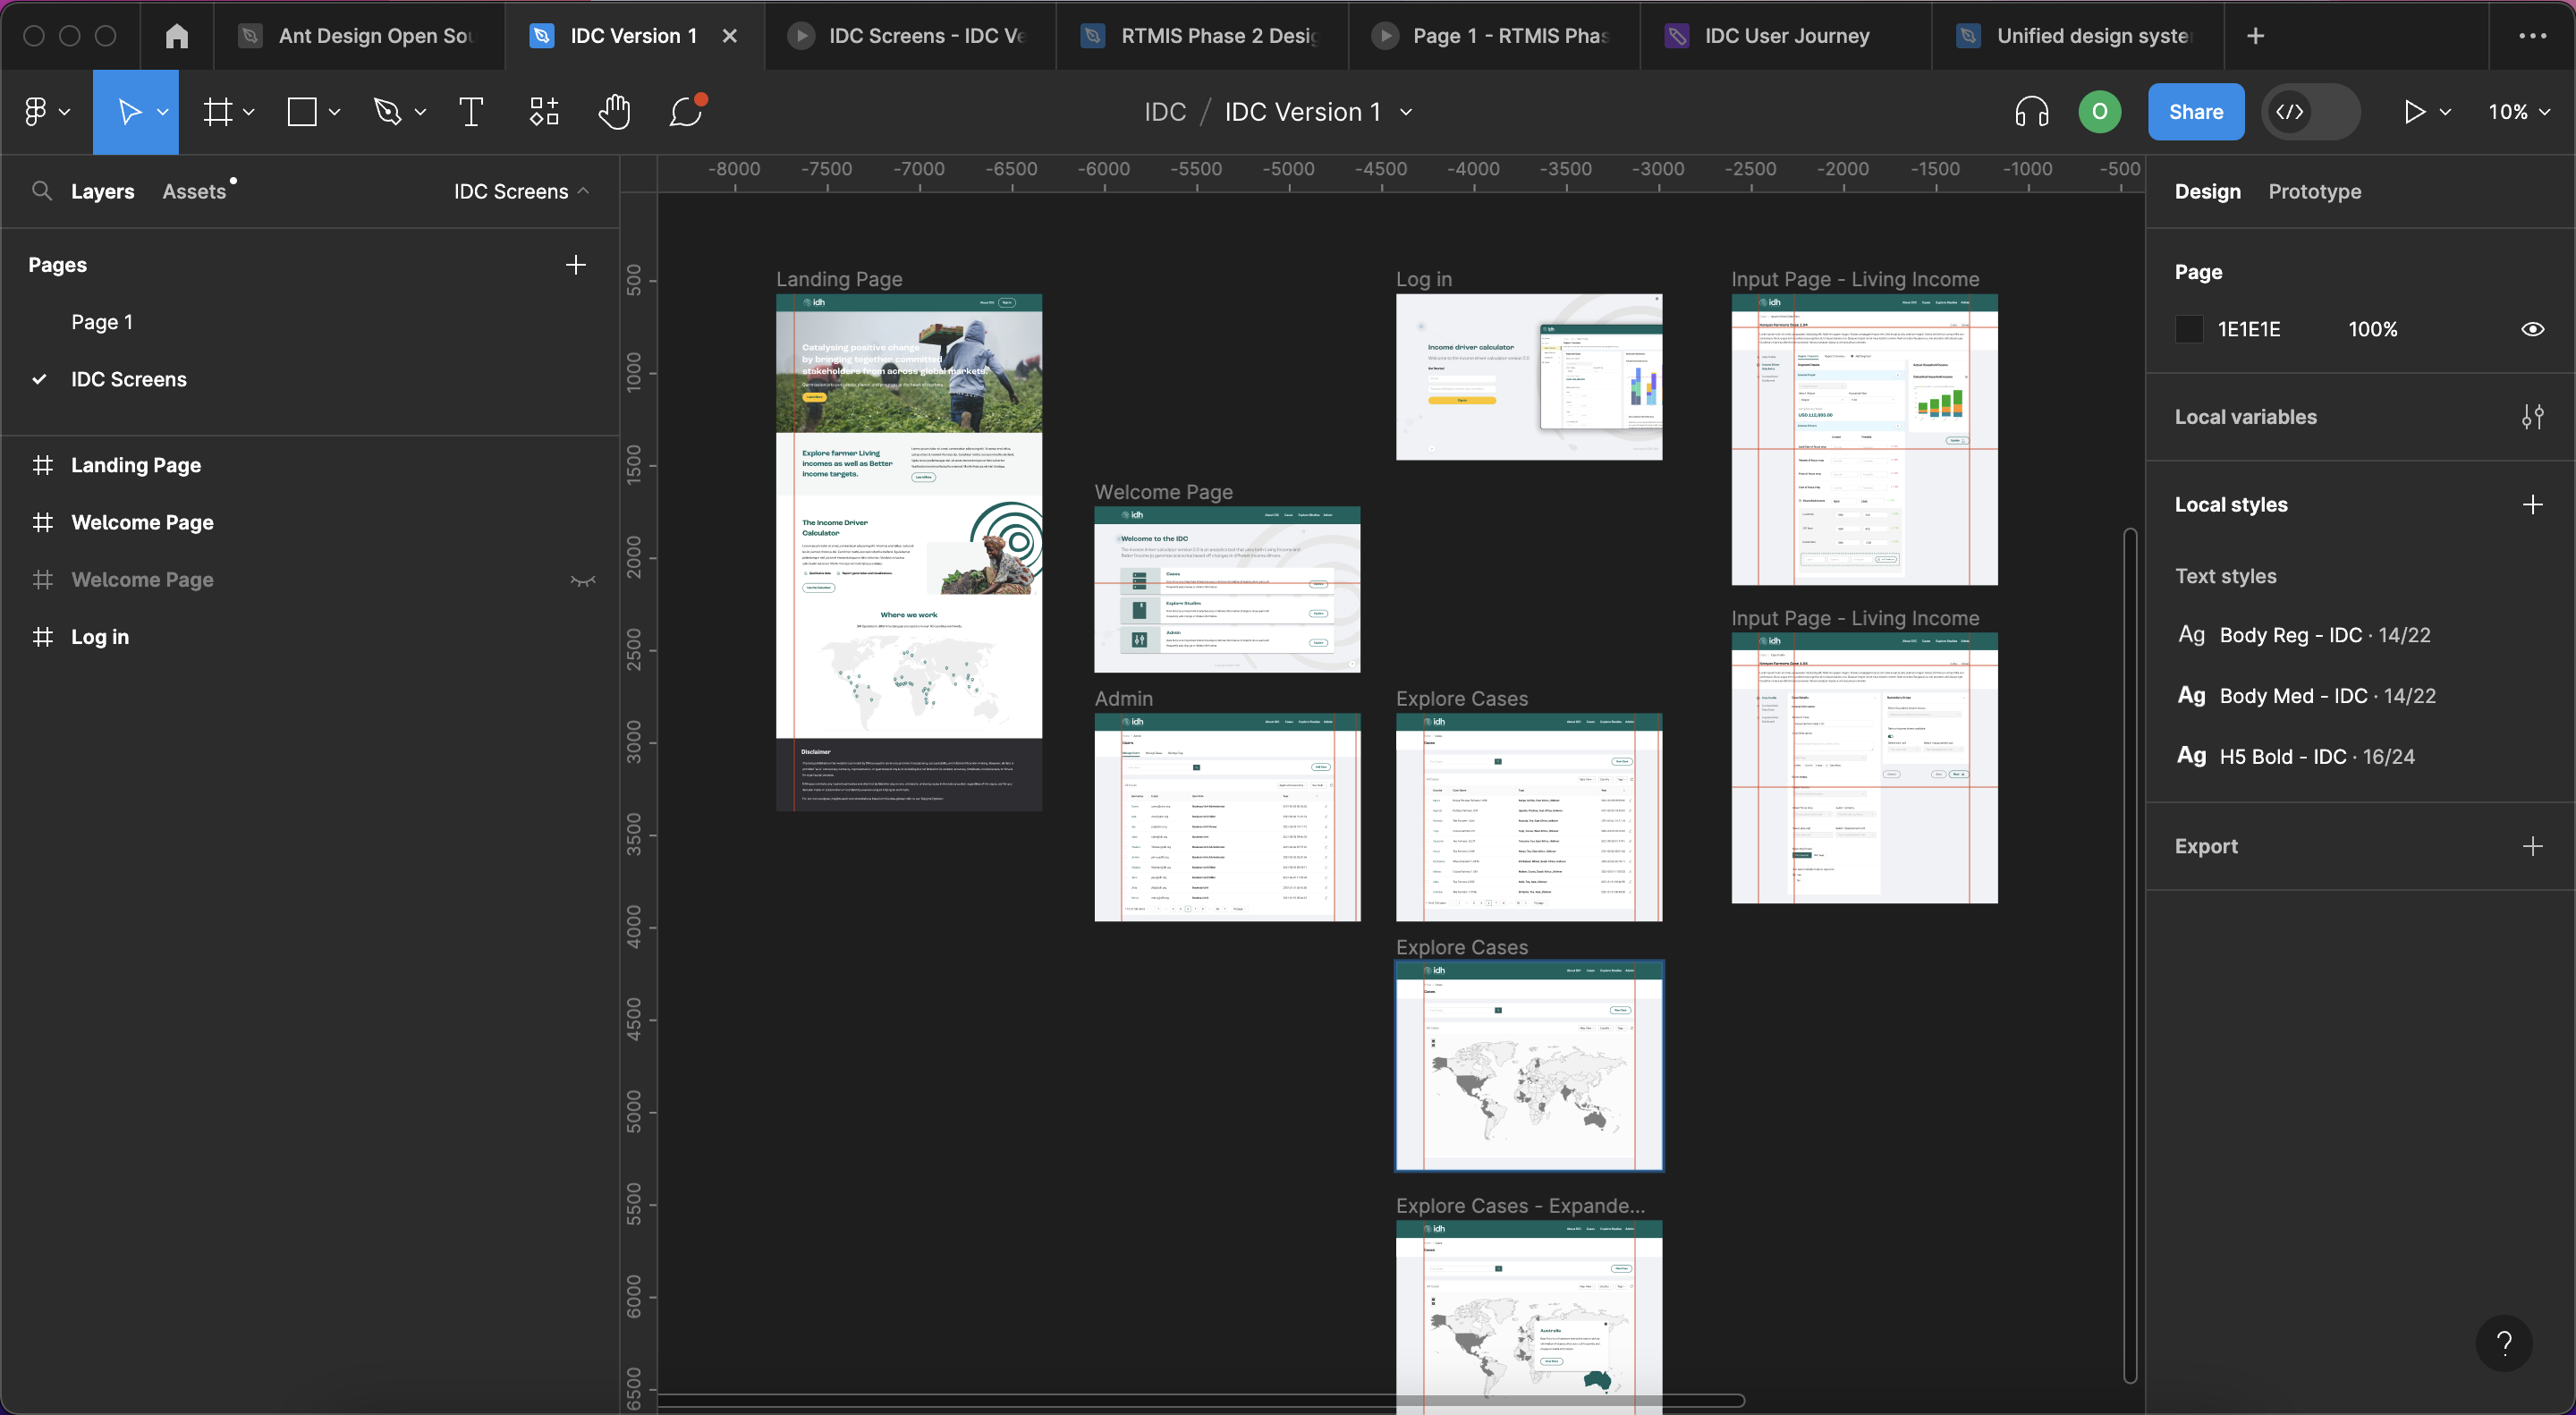
The Layers panel is on the left side of the interface and displays a hierarchical view of all the objects in your design, similar to a traditional layers panel in graphic design software. It's where you can select and organize your design elements. You can also group, rename, and rearrange layers.
Toolbar
The toolbar is located on the left side of the interface. It contains various tools for creating and editing your designs, such as the Selection tool, Rectangle tool, Text tool, and more.
 Canvas

The central area of the Figma interface is the canvas. This is where you create and manipulate your design elements. You can zoom in and out, pan around, and interact with your design using the canvas.
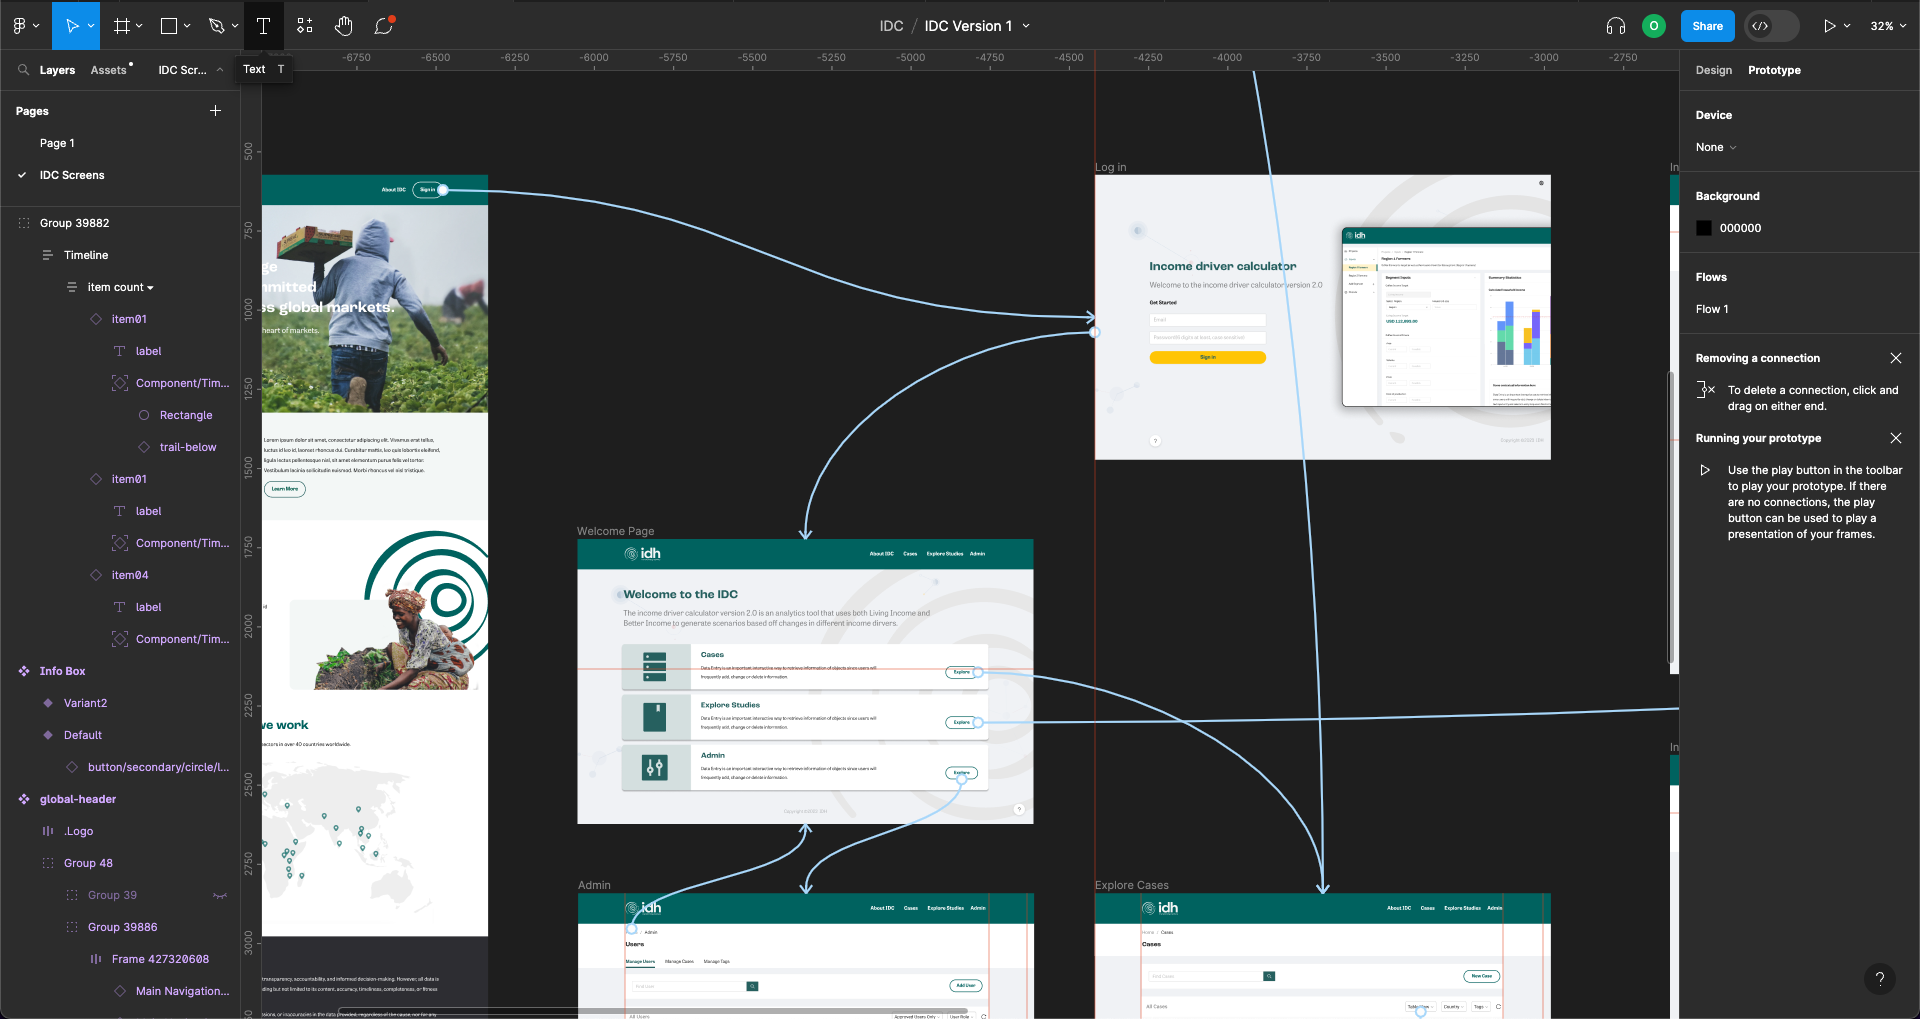
 Prototyping
Figma also allows you to create interactive prototypes. You can define interactions, transitions, and hotspots by switching to the Prototype mode using the "Prototype" tab at the top of the screen. This is where you can create user flows and interactions.
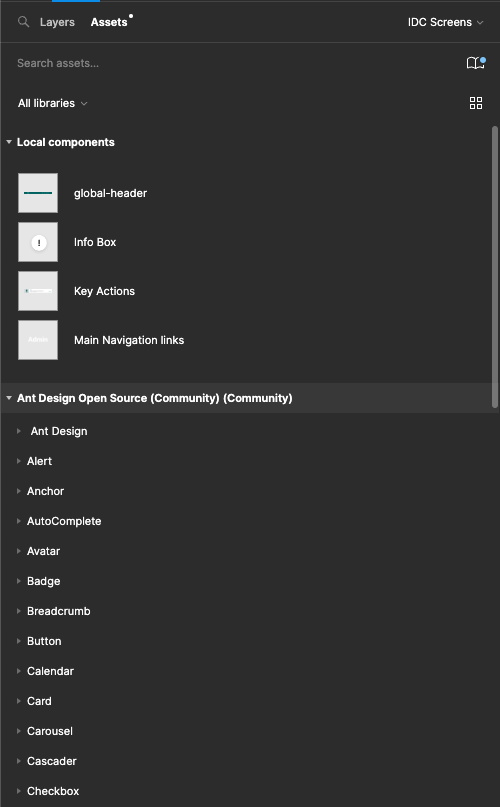
 Assets
Figma makes it easy to manage design assets like colors, text styles, and components. These assets are usually stored in the right panel, where you can create and update design systems for consistency across your files.
Comments and Collaboration
Figma also has built-in collaboration features. You can leave comments, share your design files with others, and work on the same file simultaneously in real-time.
BookStack - Fundamentals
Content Nesting
BookStack offers 4 levels of content nesting:
- Shelves - The top level
- Books - Used for top level content grouping. Book can belong to several Shelves
- Chapters - Used to organize low level content elements.
- Pages - Used to organize low level content elements. Note that pages can also be directly below a book.
- Chapters - Used to organize low level content elements.
- Books - Used for top level content grouping. Book can belong to several Shelves
Useful Features
BookStack offers a lot of useful features that will help you create beautiful documents in a very efficient way. Here's a list of the most useful features.
| Feature | Description |
| Keyboard Shortcuts |
Most formatting options have a keyboard shortcut that allows you write most pages directly from your keyboard.
 |
| Code Blocks with Syntax Highlighting |
Many languages are supported.

Example
|
| Diagrams, Drawings & Math Formulas |
You can create and insert diagrams, drawings and even math formulas (LaTeX) using the Diagrams.net application. There's even support for Mermaid.

Examples   |
| Collapsible Blocks |
Collapsible block are useful display content on demand, in particular for long pages.

Example
I Dare You To Open 👺
|
| Table Formatting |
You can pimp your tables with header and footer rows. See this table as an example.
 |
| Ordering Content |
You can change the display order to pages and chapters using the "Sort" menu option on the right pane of a book. See official documentation. |
| Full Screen Mode |
For distraction free writing you can toggle the fullscreen mode.
 |
| Templates |
You can mark a page as a template so that its content can easily be reused when editing and creating pages. This can be super useful when you need to create many pages following a similar format. See official documentation. |
| Webhooks |
You can configure webhooks from BookStack in order to perform POST requests to other services (like n8n). Many (if not all) application events can trigger a webhook.
API Documentation: https://wiki.cloud.akvo.org/api/docs |
